
Do you love crafting? Are you continuously searching in books, YouTube, or the web for inspiration to create new crafts? If you answered yes to any of these questions, then CRAFT CORNER is for you!
Craft Corner is a 1-hour, bi-monthly virtual program hosted by CCPL staff. During each session, we create something new! Supply kits are provided for those who pre-register and attend the programs. Kits can be picked up at the La Plata Branch.
If you would like to try and create what we made in our last CRAFT CORNER meeting, below are the instructions. Instructional images can be found at the end of this blog.
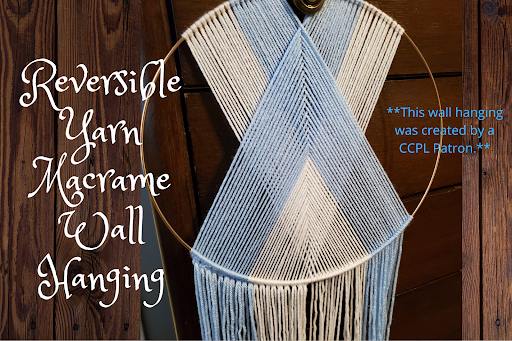
Reversible Yarn Macrame Wall Hanging
What You Will Need
Let’s Get Started!!!
1. Cut 20 cords of each yarn color (or 10 strands of the same color of Macrame Cord).
Each cord should be at least 72” in length.
2. Hold a folded piece of yarn to the top of the metal hoop and let it hang.
(When hanging, the folded yarn should be approximately 36”.)
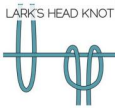
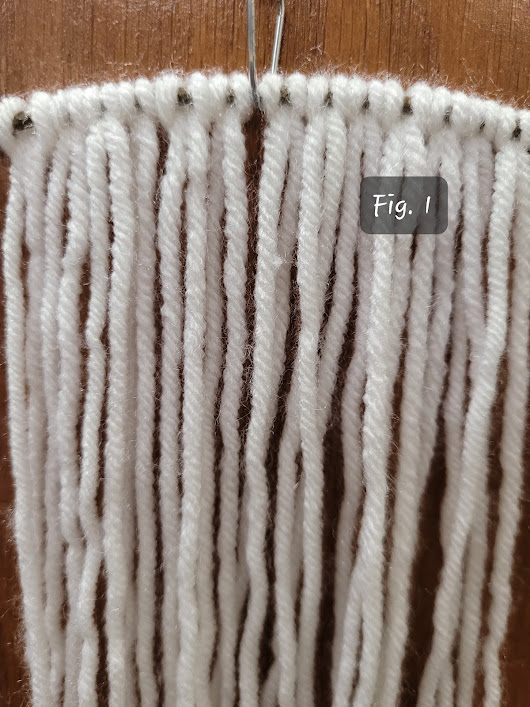
3. Attach 20 cords of the same color of yarn to the hoop using a Lark’s Head Knot.
(see Fig. 1 & Fig. 2)
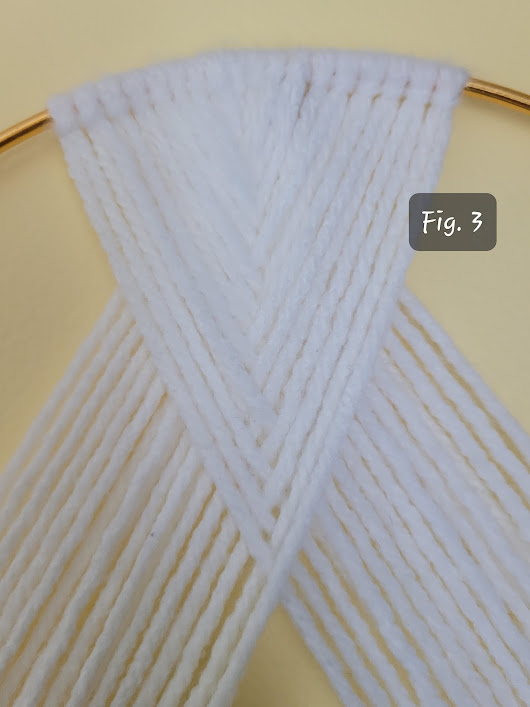
4. Starting with the middle cord on the left, attach the cord to the opposite lower side of the metal hoop using a Double Half Hitch Knot.
5. Using the middle cord on the right, place it under the left attached cord and attach it to the opposite lower side of the metal hoop using a Double Half Hitch Knot. (This cord should cross under the left cord.)

6. Repeat steps 4, 5, and 6 until all cords have been attached. (These cords should create a woven pattern.)
(see Fig. 3 & Fig. 4)
7. Attach the 10 cords of the second color of yarn (or 5 strands of Macrame Cord) to either side of the first color using a Lark’s Head Knot.
8. Place all the ends of the 2nd color behind the metal hoop.
9. Attach the 2nd color of cords below the first color using steps 4, 5, and 6. (see Fig. 5)
10. If you would like to add beads, thread them through the ends of the desired cords and attach using a Half Hitch Knot.
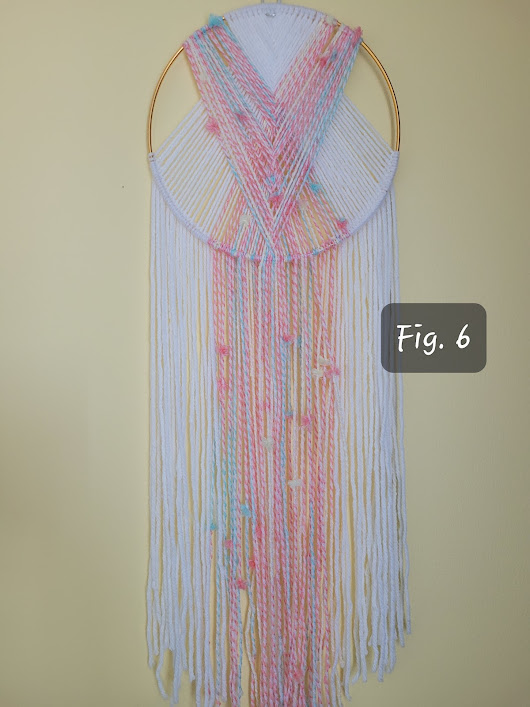
11. Finally, trim the ends of your wall hanging to the desired length. (see Fig. 6)
Congratulations, you have completed your project!
Now, you have a beautiful macrame wall hanging to display! Don’t forget that this macrame design is reversible. You can hang it with either side facing forward.
We hope you enjoyed making this craft. Don’t forget, if you like to create things, join us bi-monthly at “Craft Corner”. Until then…..KEEP CRAFTING!!
Instructional Images


